

Last month’s blog featured the top 5 home improvements for the greatest return on investment. This month we dive into one of the easiest and most affordable home improvements, painting.
Fixing and painting walls might not create the sensational before and after photo ops you see all over home improvement Instagram accounts, but it will freshen up your home and help make it stand out in the mind of a potential buyer. According to RE/MAX research, a typical return on your investment for a fresh coat of paint is 60%. Whether you do it yourself or hire a professional, make sure you choose colours that compliment and flatter your home. But how do you ensure that your paint job doesn’t fall flat?
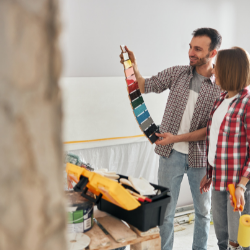
What’s the Right Colour to Paint to Help Sell Your Home?
You want to ensure that you pick a neutral colour that is appealing to the masses. You don’t want to choose a colour(s) that is too bold or doesn’t match the décor you have in your home. Picking a neutral or earthy tone is a safe option. Look at beiges, light greys, and off-whites for your main rooms. According to a recent survey of leading interior designers, these are the paint colours that help sell for each room of your home:
Kitchen – White or Warm Gray
Living Room – White
Bedroom – White or Taupe
Bathroom – Pale Blue
It’s about picking a colour(s) that works overtime and will help buyers visualize themselves in your space.
Check out my paint blog for more painting inspiration.
Paint Like a Pro
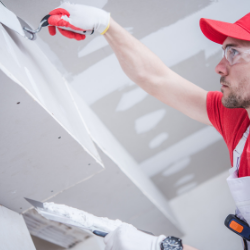
First things first – prep the surface. There is nothing worse than painting over holes, cracks, dents, and surface imperfections. It might not be the most fun part of painting a room, but it is the most important. So, get out the putty knife and sandpaper and prepare your walls for their makeover.
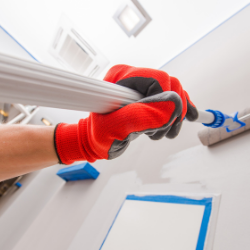
Remove baseboards (or tape the edges to prevent paint drips), light switch plates, and outlet plates. Tape the switches and plugs to prevent paint from splattering them. Don’t forget to tape off the edges and the ceiling so that your paint job looks neat and professional.
Priming your walls gives you a fresh surface for your new wall colour. This is especially important if you are painting over a dark colour. The main functions of primer are; blocks stains from bleeding through, allows one-coat coverage for the paint and most importantly it improves paint adhesion (this reduces blisters and peeling).
*Pro-tip – tint your primer by mixing a small amount of your topcoat paint into the primer, this trick greatly enhances the ability of the topcoat to completely hide the primed surface.
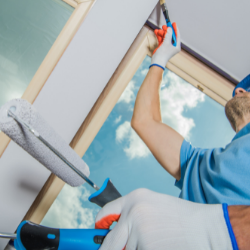
Time to paint the top coat! Your first step in painting the wall is to form a border along your tape (ceiling and baseboards), this border should be double the width of the brush. Next is roller time! Ensure that your roller is completely saturated, roll it up and down on the paint tray to remove any excess paint. Roll a “W’ on the wall with the roller (no wider than one arm-length – 60 to 80 cm), filling in the blank spaces in a top to bottom motion. Continue this pattern for the whole wall. Once the entire wall is covered, wait 2 hours (or until paint is completely dry) before applying the 2nd coat in the same manner as the 1st.
*Pro-tip – remove all the tape while the paint is still wet
Painting is just one renovation to think about before selling your home. Next months blog will feature exterior renovations to consider if you are putting your house on the market.
Post a comment